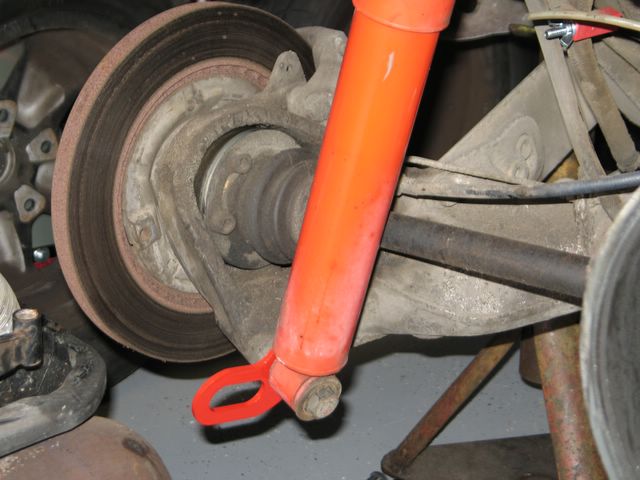
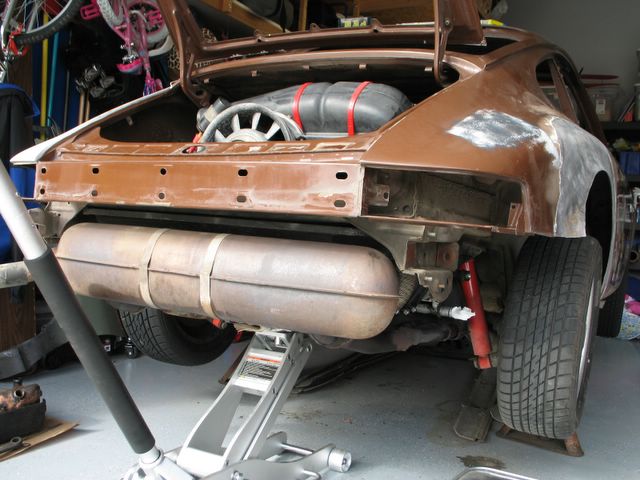
One of the rear mount Rennline hooks. A clear shot without the engine to get in the way. 
Sunday, March 26, 2006
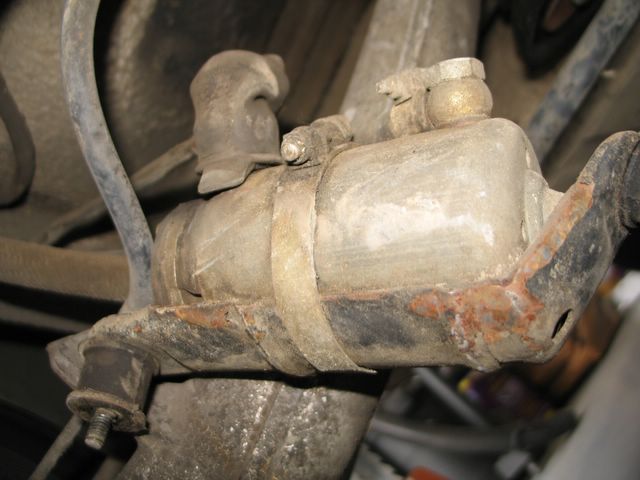
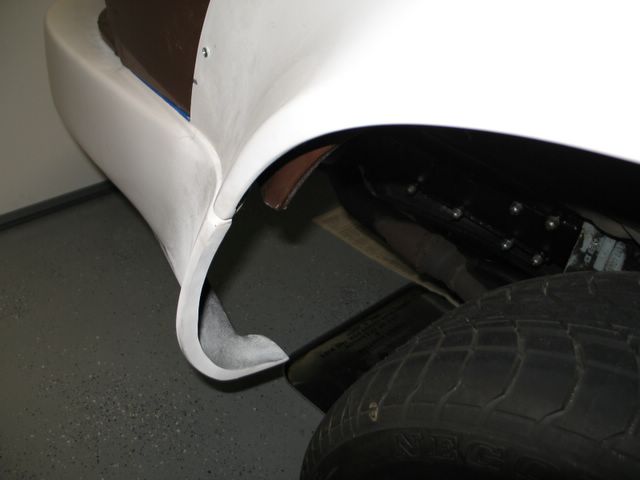
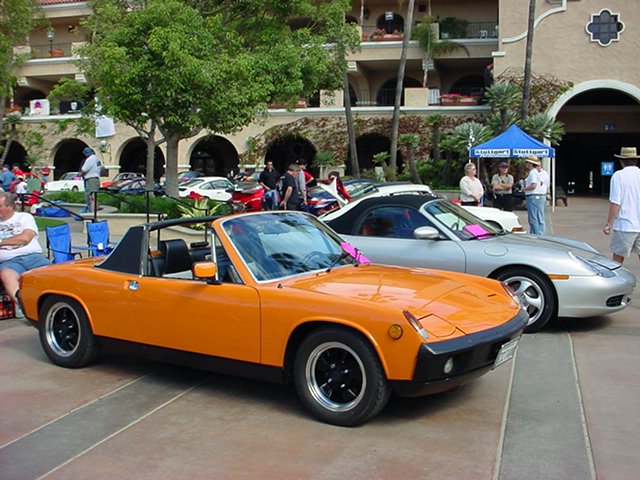
Tow hooks
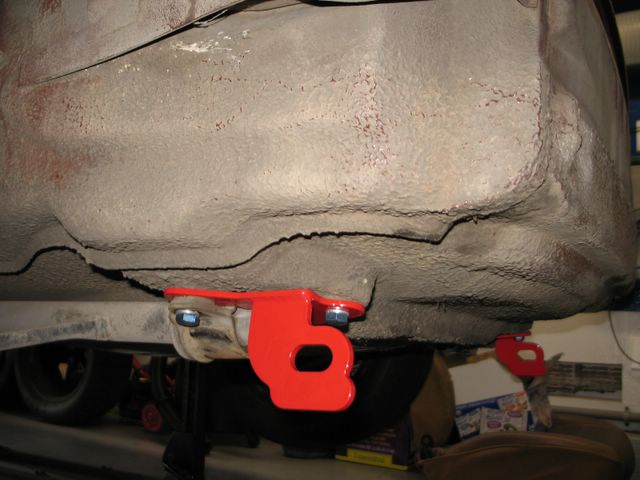
At some point in the not too distant future I'm going to need to be able to tow the Porsche to the body shop. This car had very few places to attach tie downs and winch cables making moving any significant distance a challenge. To make matters more interesting, the front tow hooks had been bent back and forth some many times that the right side was cracked through. It was time to get some serious hooks installed so I went with the front and rear units from Rennline. Having the engine out and the car lifted about 18 inches off the ground made the job very easy. When we go for paint at least we know the car won't be sliding off the trailer on the way to the shop.
Saturday, March 25, 2006
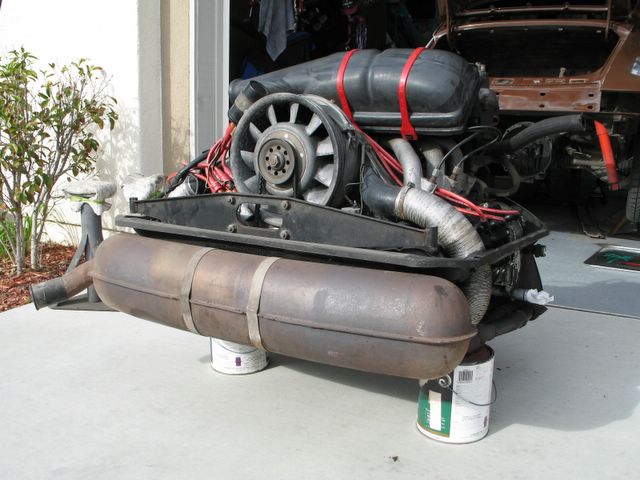


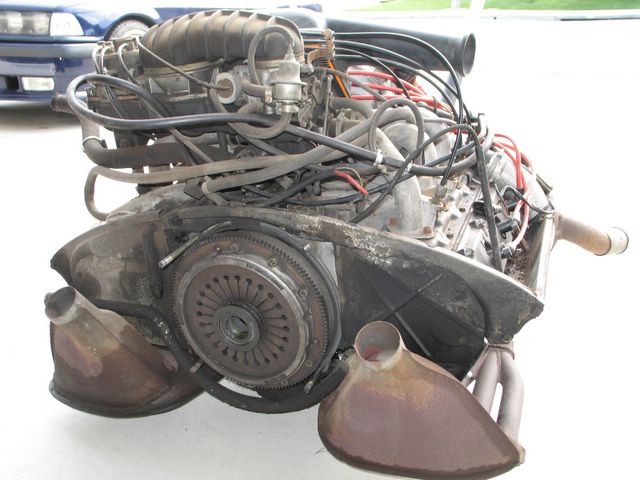
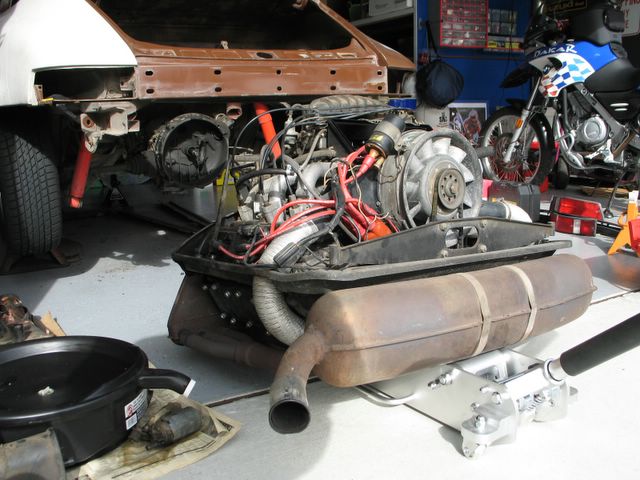
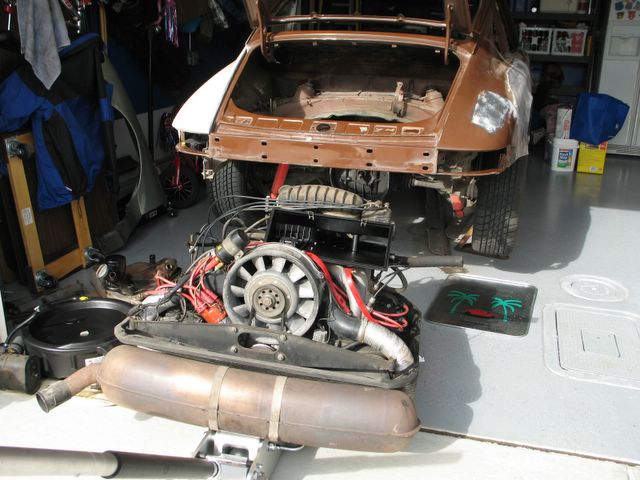
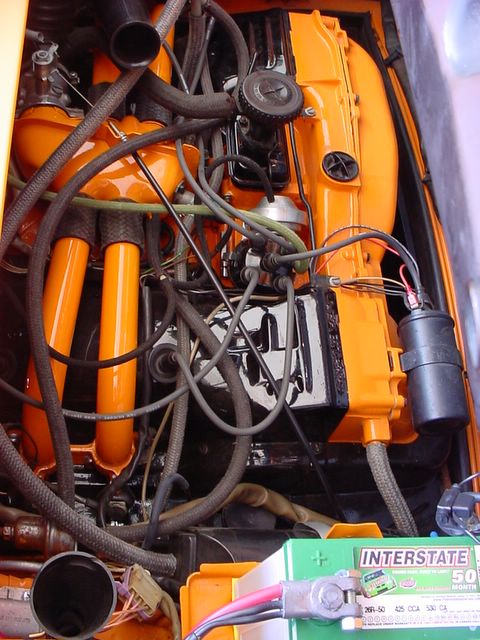
Engine pull
Today marked a major step in the project with the extraction of the engine from the Porsche. With tall jack stands the job was pretty easy to accomplish without assistance. I followed the outline provided in the excellent instructions from Pelican Parts, removing the wires, accelerator linkage, etc. and had the power plant out in an hour or two. The biggest challenge was trying to get it from the jack on to the piano dolly. This step is highly recommended as it does making moving the motor around a heck of a lot easier. A couple of gallon paint cans and some careful balancing got the job done - almost crushed a can in the process but overall the it was success without incident.
I have to say, Pelican recommends 32 inches of clearance and I only had about 30 with the current configuration (largely because the front end is off the ground by about 18 inches). The engine came out but I had to remove the air cleaner cover. The boot for the CIS intake just fit under the tail section. If the jack had of been a half inch taller I'd would have had to find a way to crank the back of the car up a few more inches.
With the engine removed I'll have a chance to clean up the compartment and prepare if for paint. I'll also scope out the leaks to make a determination of what needs to be done on this pass. I will eventually pull the transaxle to get it cleaned up and degreased. The unit is covered in bake on oil and grime and needs a good scrubbing. The bell housing is covered in grease so it is apparent that at least some of the seals are in need of replacement. Nothing like an old Porsche to keep the project list from shrinking.
Sunday, March 19, 2006
Prep to pull the engine
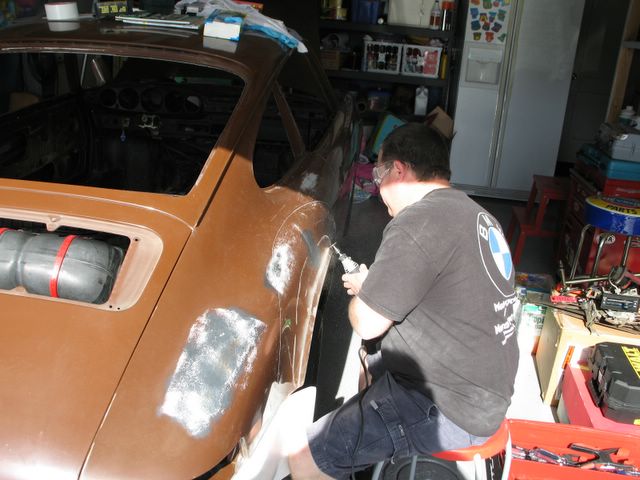
Yesterday I had a few hours to re-familiarize myself with the project after a few weeks on business travel. Spent a little time grinding on the right fender and then the rest prepping the fuel lines for the eventual removal of the engine. Most of this involved pulling the fuel pump and the final steps in removing the fuel filter. Should be getting close to dropping the engine as the oil is drained, electrical disconnected and the last of the fuel lines removed. Now I just need to figure out what I'm forgetting.
Sunday, March 05, 2006
I finally got in and pulled the rest of the dash trim today. It's amazing where rust formed. There some discoloration around the ignition switch and some outright damage at the top left of the dash. My guess is the water leaked in through the windshield seal and then wicked up through the foam dash trim. 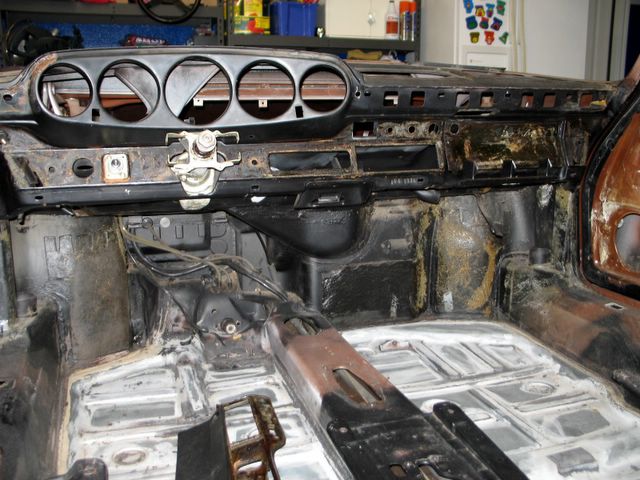
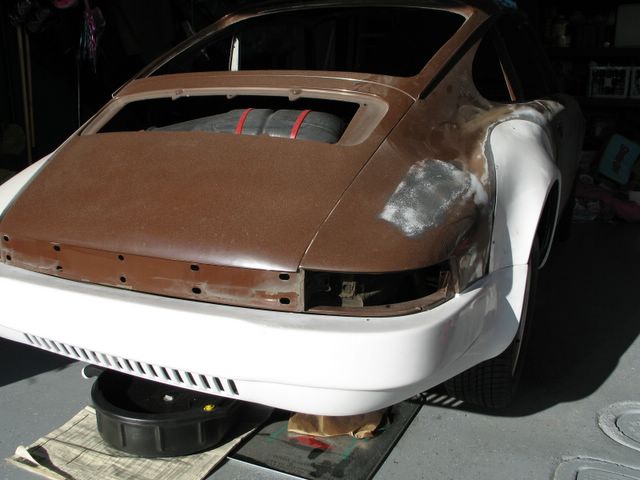
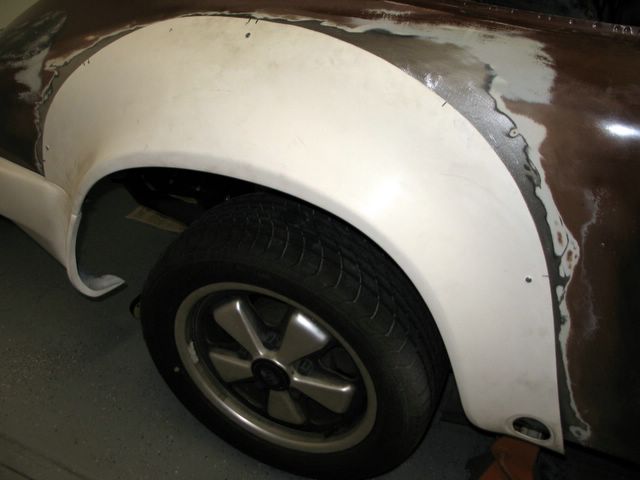
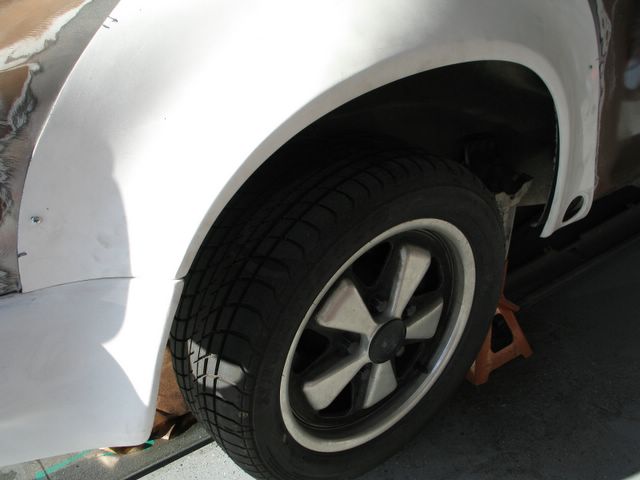


Adding some flare
Spent a couple of hours on Saturday fitting the fender flares. These are the SC type and will extend the width by a total of 8 inches to match the RUF replica bumper. The flares are the most challenging part of the glass work as they require a lot of work to fit. Lining them up at the torsion bar holes has them forward by about a half inch. The decision was made to ignore the torsion holes and go for the fit that looked the best, particularly in alignment with the rear bumper. The space for the torsion holes will be cut out and feathered into the panels.
With the basic fit established I started work on the right side. The plan is to shape the sheet metal into the underside of the flare. This will provide more surface area for the panel adhesive and a blended finish in the wheel well. The goal is to make it near impossible to tell that the glass flares have been mounted. Cutting the fender lip got things started in earnest. A few more cuts and the sheet metal should be fairly easy to work with.
Wednesday, March 01, 2006
Subscribe to:
Posts (Atom)