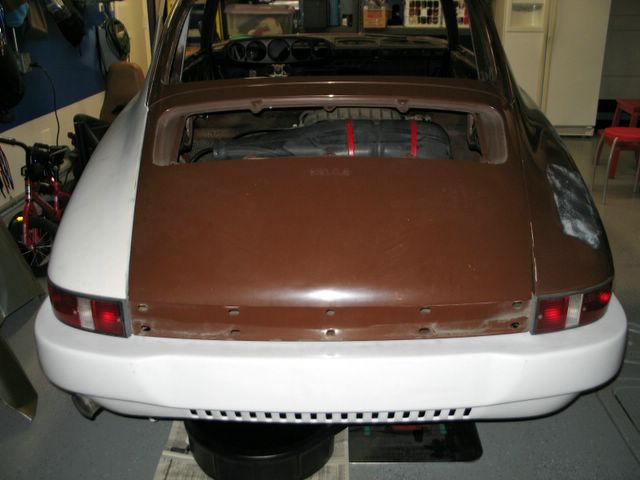
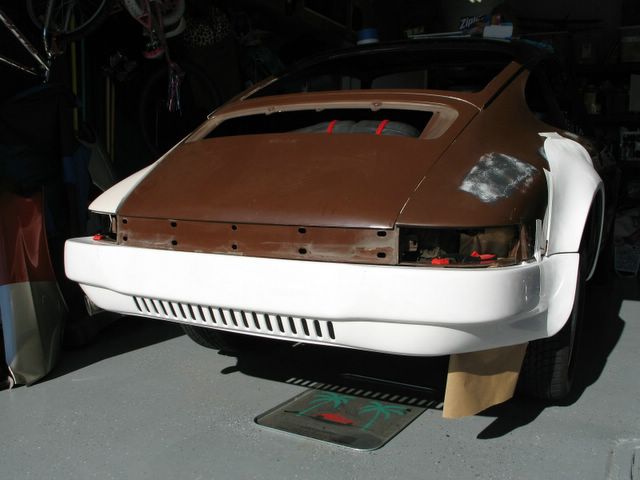
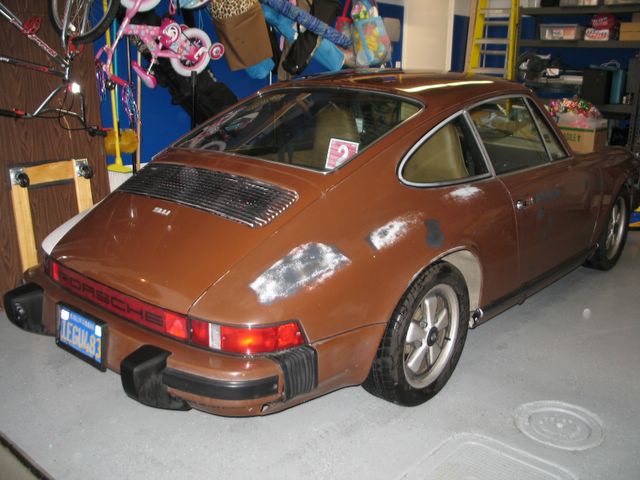
Another look at the back. Overall the RUF replica looks pretty clean. 
Sunday, February 26, 2006
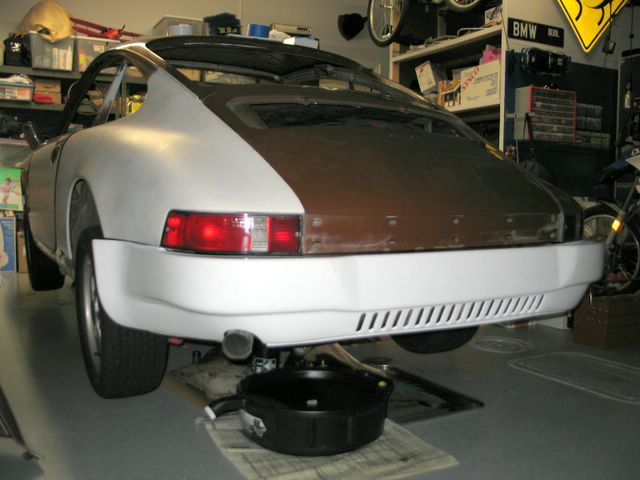
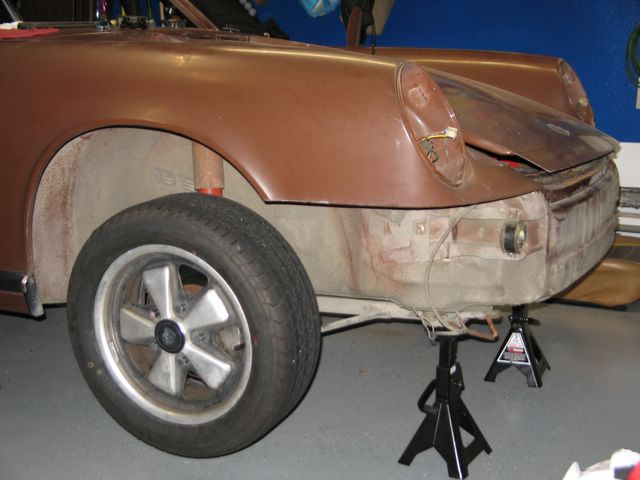
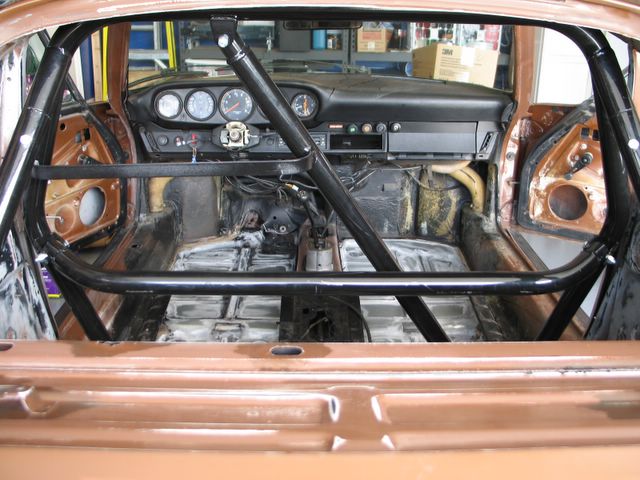
Here's a look at the back of the car with the bumper and oil tank dropped. I'm getting pretty close to having enough engine auxillary components removed to pull it from the car. The only thing holding me back is that I am unsure I have enough vertical clearance with the current jack stand configuration. 
More glass fitting
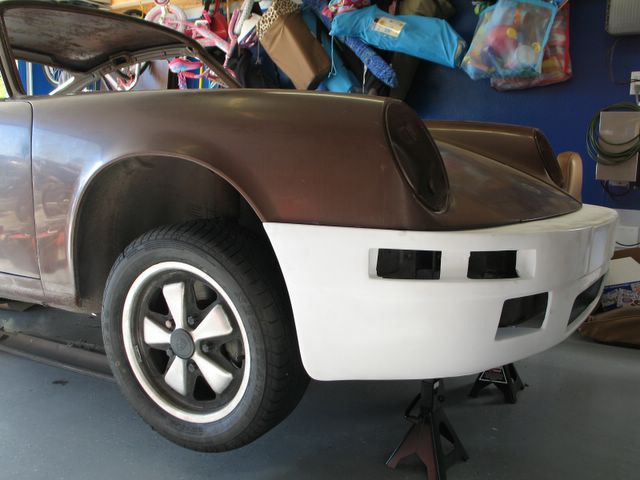
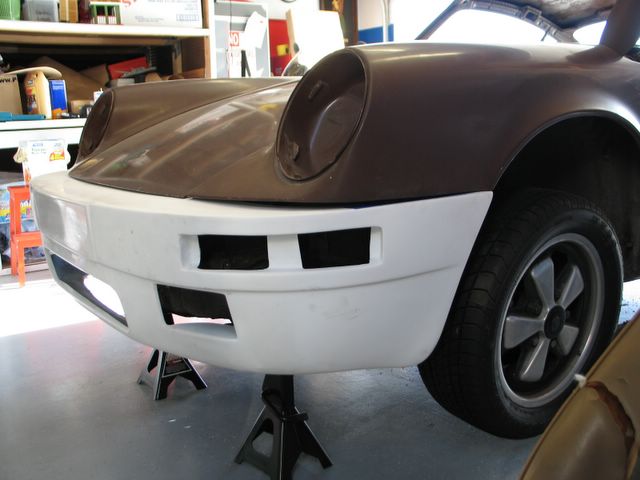
Today I turned my attention to the front bumper. The unit sat about 3/4 inch forward on both sides. The first step was to get the basic shape of the under fender sections as close as possible. I thought that having them trimmed similarly would help keep the overall shaping consistent. The center section required the most work with a large step that needed to be fit to the trunk lip just past the rubber seal channel. With carful fitting I was able to get a good fit that neither pushes the section up nor allows it to sag. This section required some serious sanding of the back of the panel, as it was 1/4 inch or more too deep.
Where the fenders come down on either side of the hood I notched the glass. After a couple of hours of carefull fitting, cutting and sanding the front bumper is in place with a few set screws. There is still a fair amount of clean up to do where the indicators mount. That will be a challenge for another day.
Yesterday, the 25th, I eased myself into the project as I was working off a wicked head cold. It took a while but I finally broke down and pulled the oil tank. It was in the way of getting the final fitting of the rear bumper completed. Pulling the tank wasn't too bad a job but dealing with the 30 years of caked on crud (oil and road dirt) was a pain. It's a good opportunity to clean up the tank and make sure it is properly sealed.
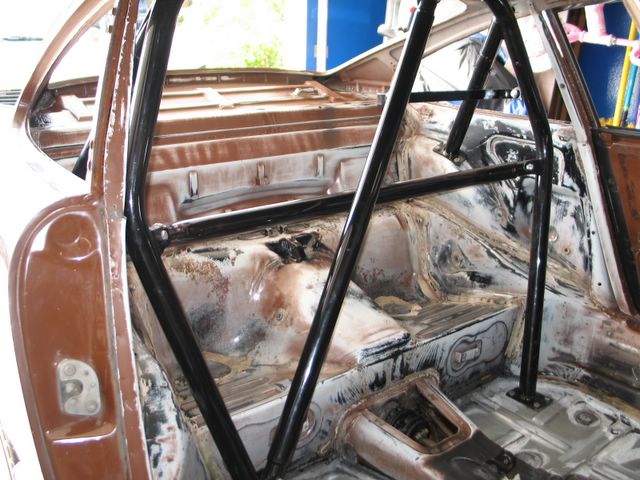
With the tank off fitting the bumper got a lot easier. When dealing with so many places to fit the fiberglass to the car it really pays to be cautious. I spent a fair amount of time deciding where to begin. The rear section, with the bumper and flares is far more complex then the front. I finally decided to line up the rear bumper where the tail light housing matches, get the sides and back as aligned as possible and get some set screws in place. I did this without the flares which will take a fair amount of fitting to get right. The bumper did line up well and is square overall. I did notice a discrepancy in the shape of the bumper between the left and right sides with the right being about a 1/4 inch wider as it blends into the flare. This does not appear to be a serious problem and it should be unnoticeable to anyone looking at the car.
Thursday, February 23, 2006
Pictures and more pictures
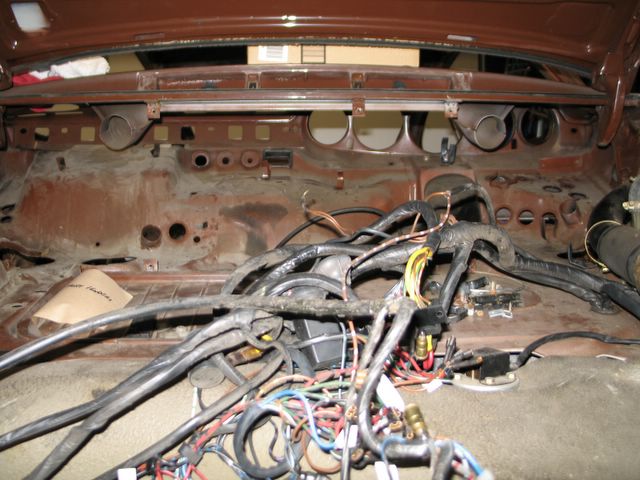
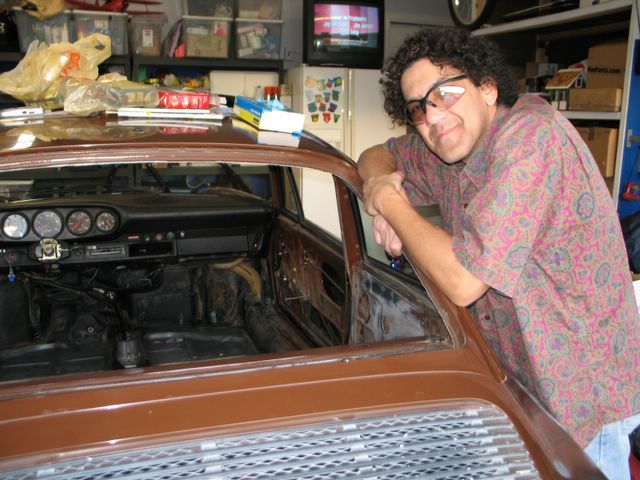
What you see here is just a sample of the literally hundreds of pictures I’ve taken of this project to-date. If I’ve touched something on the car chances are I’ve taken at least a couple of pictures in the process. If you are interested in seeing something specific let me know. Keep in mind that I have been taking pictures while working on the car so I have predominately interior pictures, wiring, door assemblies, gauges, etc. I have fewer pictures of the engine and other mechanicals … so far.
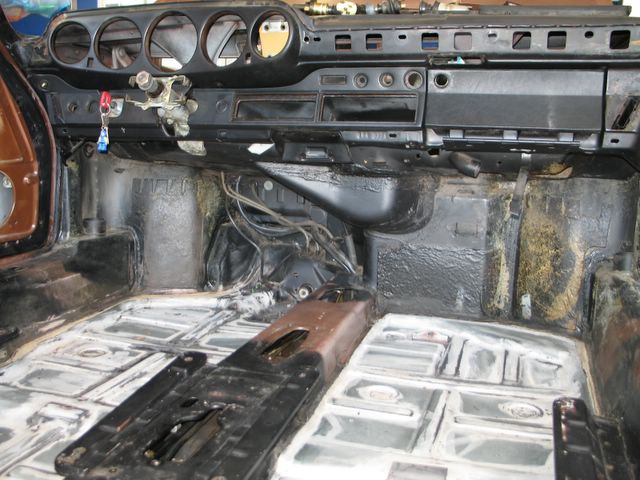
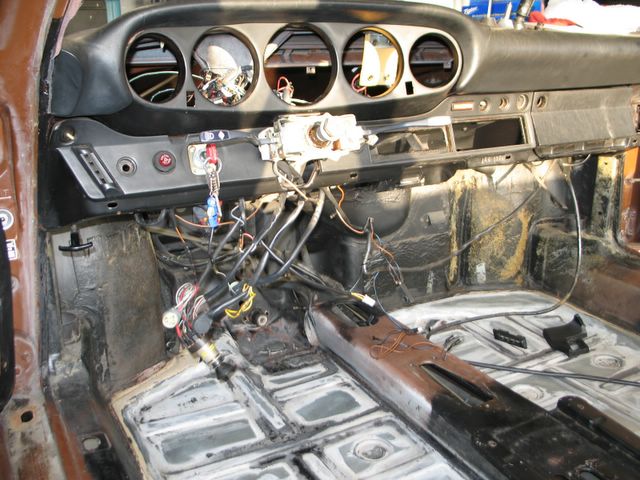
Finally got the dash top removed. This was no minor feat. It looks like it had been replaced before and that the last guy did it (or at least tried to do it) with the windshield in place. You can see where some water damage made it to the dash structure on the top left and (less visible) on the top right. The damage by the gauge seems odd. 
Wednesday, February 22, 2006
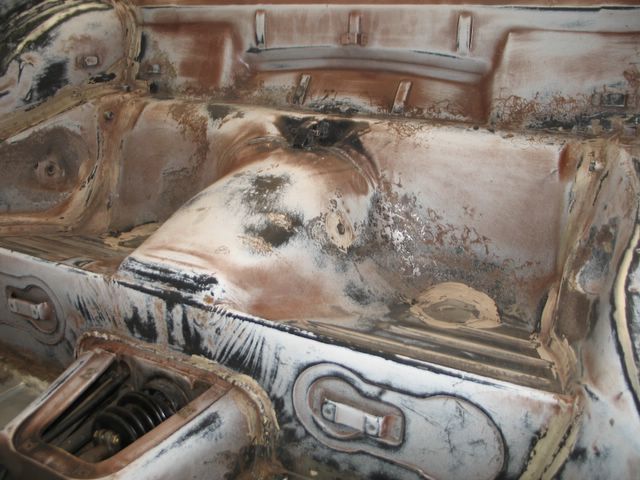
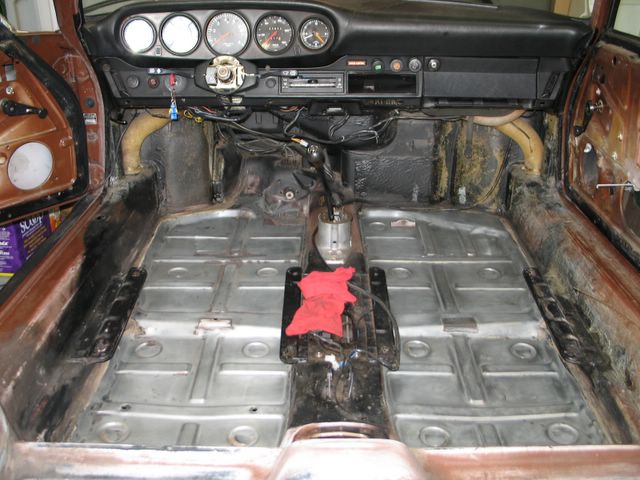
Here�s a shot of some light rust at the seam of the tunnel and rear bulkhead. This would have never been found if the floor pan had not been completely stripped. Rust Mort was applied to all rust spots found. This transforms the rust, keeping it from spreading and provides a foundation for primer and paint. 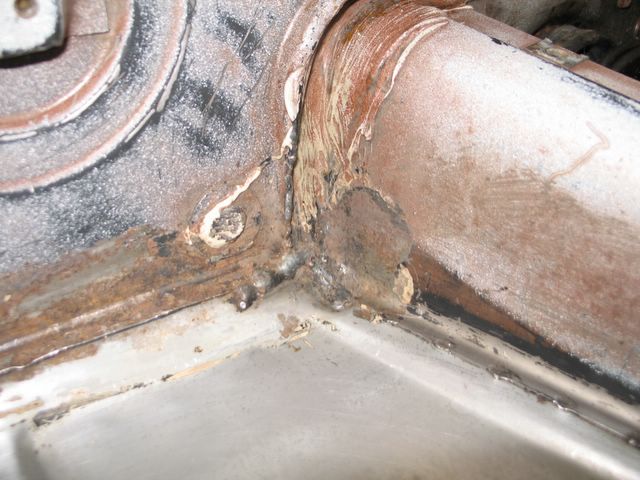
The project begins
At first the work on the Porsche was haphazard.
Really what pushed me into this decision was when my wife came home and said I needed to go “scrape the giant turd off the driveway.” It’s hard to blame her given the condition of the paint (70’s brown at its ‘finest’ with a mix of grey and black primers). I figured a shiny paint job would surely change the reaction to the car, and we all know how important first impressions are.
Here’s where the real project begins.
Subscribe to:
Posts (Atom)