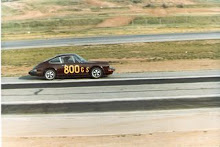
It's pretty ironic that one of the last posts to the 1974 Porsche 911 blog was in regard to "gumption". So what happened you may ask. Well I promise to provide full updates on the 1974 Porsche 911 over the next couple of days so you can see where progress stopped and where, thanks to my father-in-law, it's picking up again.
Tuesday, June 19, 2007

Monday, May 29, 2006
Gumption and the challenge of making real progress
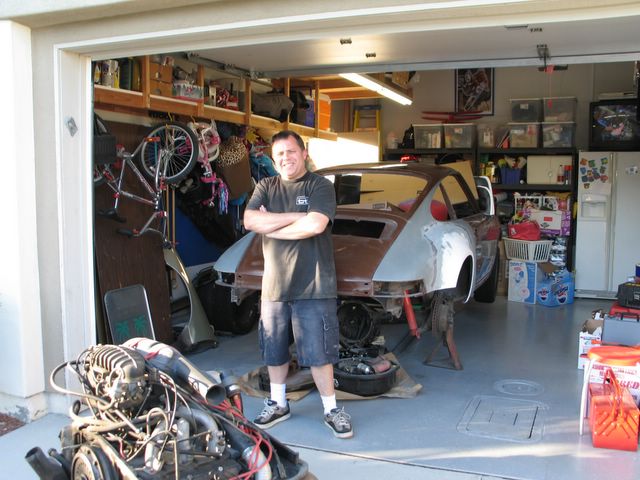
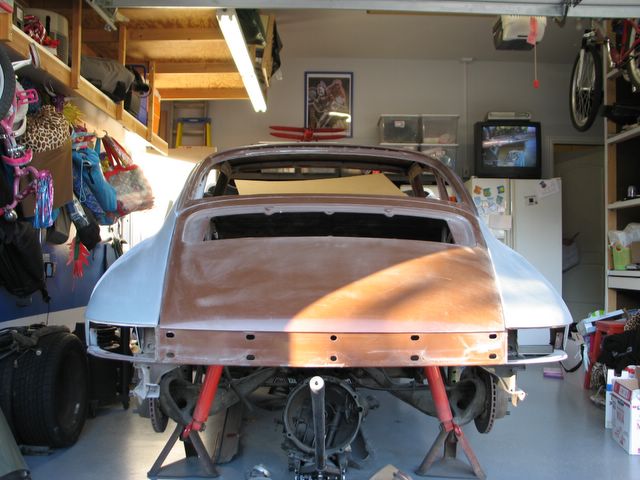
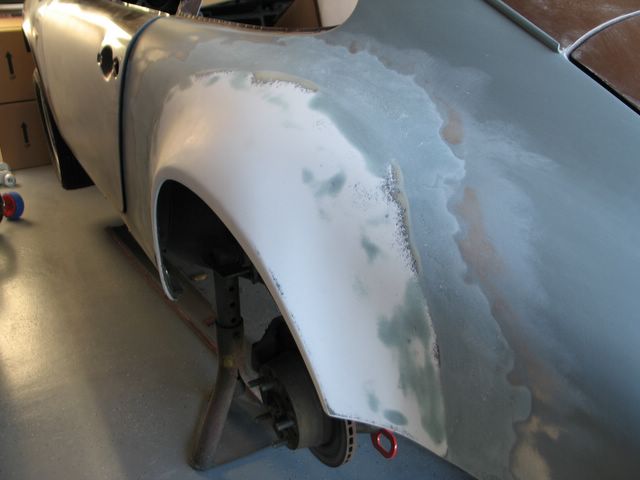
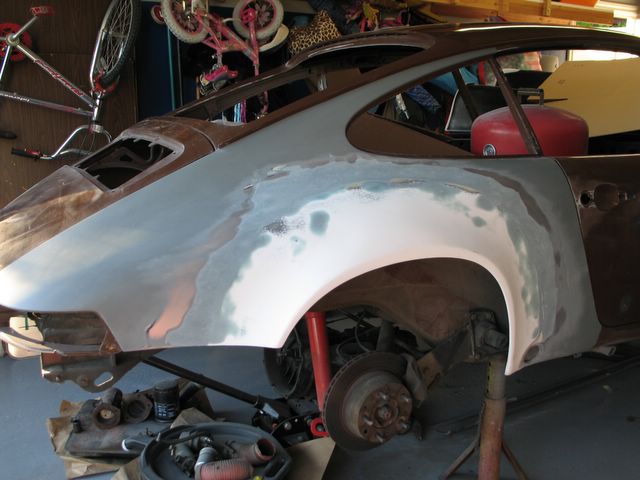
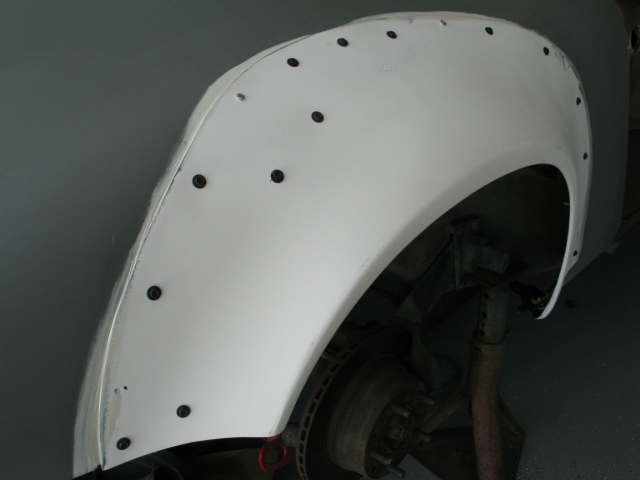
It’s been a while since I’ve made a post but this post comes with progress. At least it feels like progress … sure has been a long time coming. This weekend (Memorial Day weekend) I managed to actually get the fender flares attached to the 1974 Porsche 911. This took a few hours finalizing the sheet metal (pretty much me beating the crap out of the area where the flares attach so that it resembles a sack of walnuts). With the sheet metal in order primer was applied – and now I know why even something as seemingly simple as blowing paint on a car takes practice – not as easy as it looks. My son Michael helped with the primer, masking and clean-up so at least we had some fun.
I gave the primer the night to cure and the next morning set about actually gluing the flares to the car. This took about an hour of final fitting (you can never be too close) and then on with the panel adhesive. For those of you who may care, I used Fusor # 127EZ. Liberally applied one set of tubes (it’s a two-part adhesive) was enough for both flares. You have about an hour of working time and the flares were set well within this time. I also glued my shorts to my leg hair but that’s another story.
Twenty-four hours later (actually more like twenty-eight) I pulled the screws and the flares stayed on, a good sign for sure. Even with some tugging everything looks to be staying place. Today I actually spread some filler, the heavy-duty Mar-Glass that includes fiber glass strands in with the filler. The stuff a bit messier then normal body filler but a lot stronger and does a great job of smoothing the gap around the flare. I’ll do the rough and then hire someone with skill to do the actual finish work. Also used some seam sealer to ensure that the fit between the wheel wells and flares are water tight.
I’ll put this weekend down as a win.

Sunday, April 09, 2006
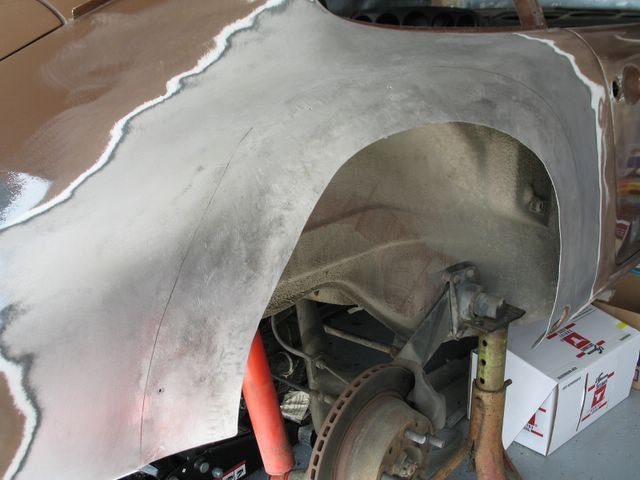
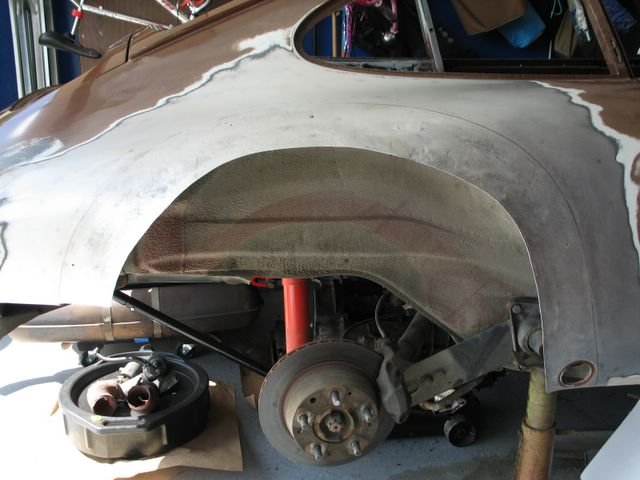
Today I worked on the sheet metal that will support the right fender flare. The original fender opening was cut to provide a 4 inch foundation for the fiberglass flare. The sheet metal was then formed (at least in part) to match the underneath of the flare as closely as possible. The rear portion is getting close, within a quarter inch, and there is still a good amount of work to do at the front for the fit. The goal is to have the flare fit right on the steel creating a smooth transition and stable form fo the panel adhesive. Work like this makes you truly appreciate those that are good at it. 
Saturday, April 08, 2006
Project Management
Now I know what it takes to manage a proper project, a plan and budget. This project started out with a pretty simple plan and a minimal budget but has spiraled out of control becoming victims to the “while you’re at it” gremlin. The problem is there are just too many good ideas out there. Especially if you spend any time looking at the popular forums like the one Pelican Parts hosts. I also have to give some credit to my father-in-law Warren who is without doubt great at coming up with “while you’re at it” ideas.
This project started out as preparation for a paint job and has become a darn near complete tear down. The RUF bumpers and fender flares were my idea, I have to admit.
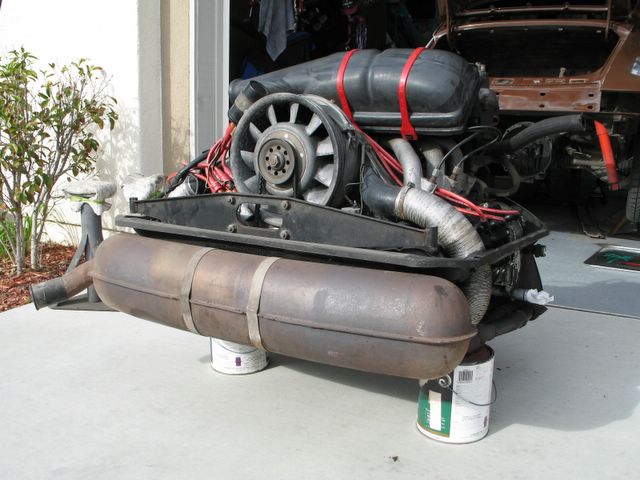
Now I’m thinking it looks like an opportune time to get into the rear suspension, rebuild the transaxle, do some engine work …
Time to focus, get the body work done and the car into the paint booth. Once that is done the project will go from being one of taking apart to putting back together. That should be fun and a whole new set of challenges (like remembering where all the pieces go).
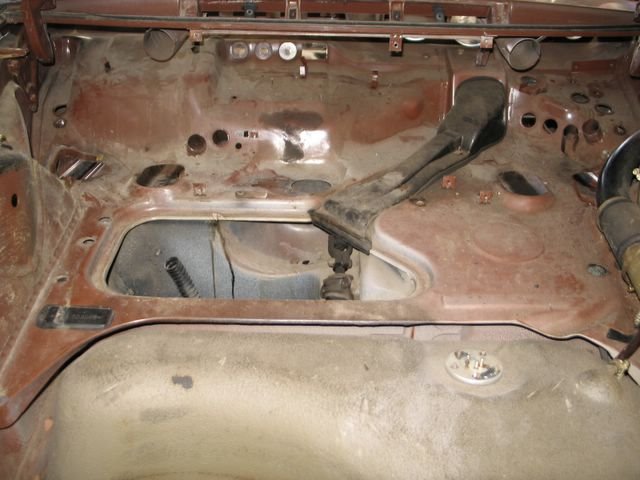
It would sure be easy to get into those rear suspension components with the engine and transaxle out. I could replace the bushings, do some powder coating ... no, I need to focus on the current job before my wife has the tub towed out of my garage at to the junk yard while I'm at the office one day. 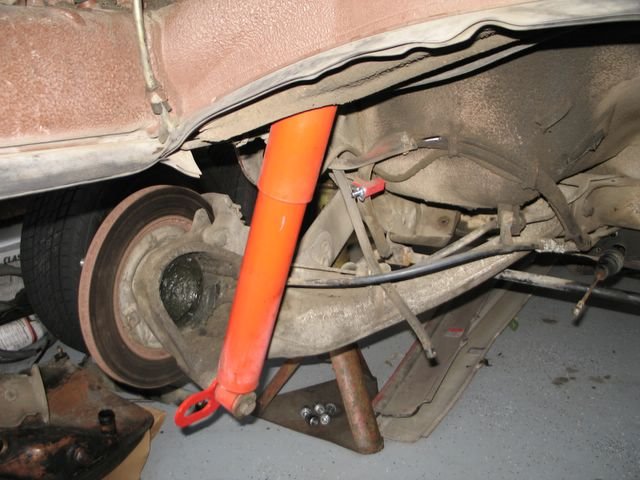
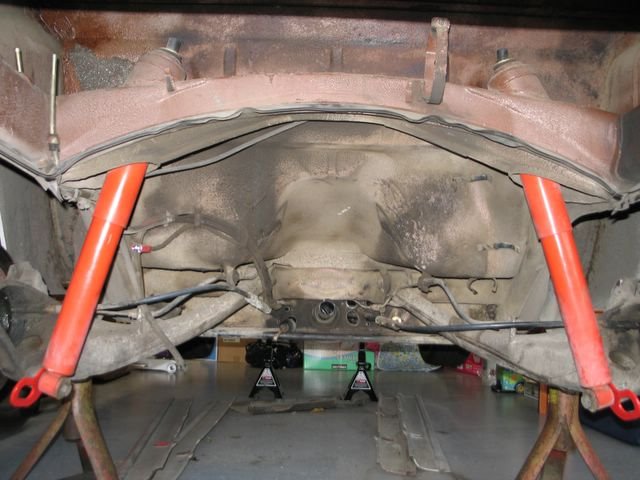
The 1974 Porsche 911 chasis harness darn near in tact. Only lost one connector on the way out, not too bad given how the thing is run through the tunnel and twisted up and over the rear torsion tubes. This photo is a good example of a project gone awry, having been overcome by the "while I'm at it" approach. 
The transaxle is filthy, pretty much covered in oil from top to bottom. It's going to take a good steam cleaning to get the crud off. I'm not planning on tear-down this go-round but at some point I'm going to have to get into it and replace the gaskets. It seems like the bulk of the oil is coming from the front, maybe from the shift rod or speedo drive? All I know is it's a filthy little pig. 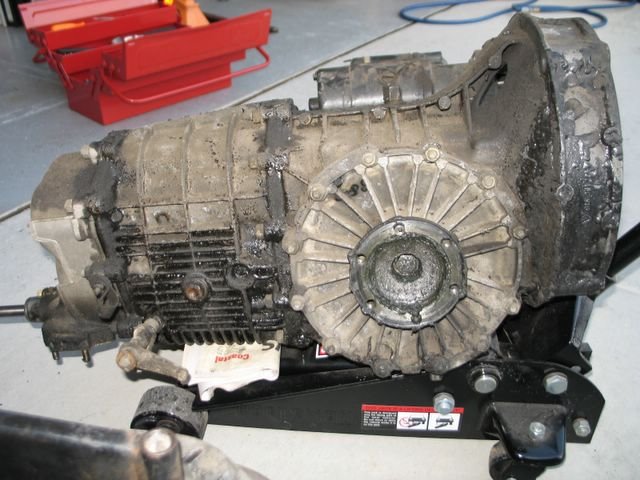
Sunday, March 26, 2006
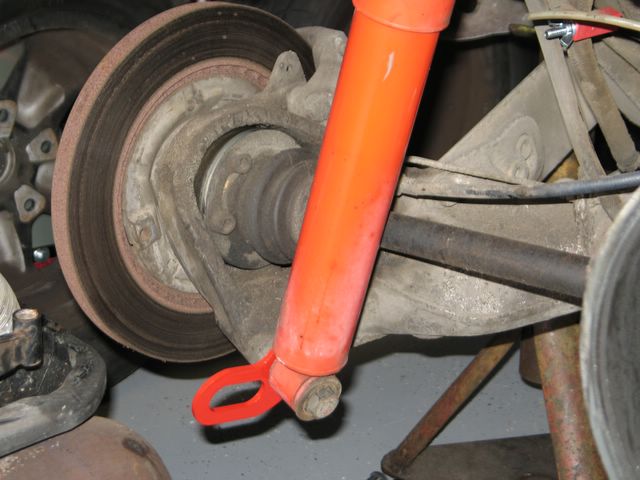
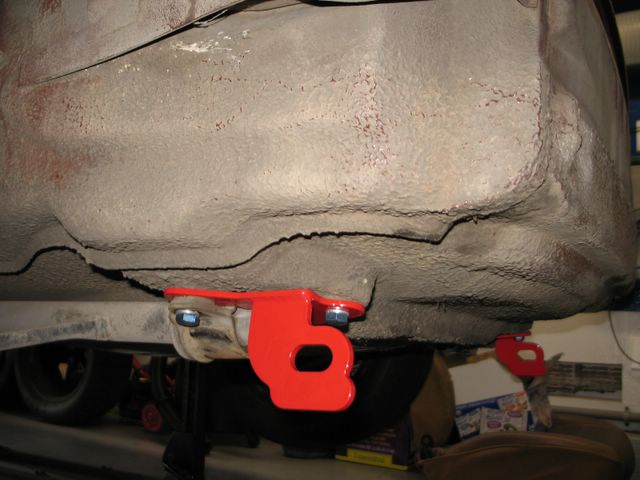
Tow hooks
At some point in the not too distant future I'm going to need to be able to tow the Porsche to the body shop. This car had very few places to attach tie downs and winch cables making moving any significant distance a challenge. To make matters more interesting, the front tow hooks had been bent back and forth some many times that the right side was cracked through. It was time to get some serious hooks installed so I went with the front and rear units from Rennline. Having the engine out and the car lifted about 18 inches off the ground made the job very easy. When we go for paint at least we know the car won't be sliding off the trailer on the way to the shop.
Subscribe to:
Posts (Atom)